Homemade English Muffins
These Homemade English Muffins are made from a simple dough, and taste so much better than the preservative-filled ones they sell at the store. This recipe only requires one 1-hour rise, and is overall quite easy to make!
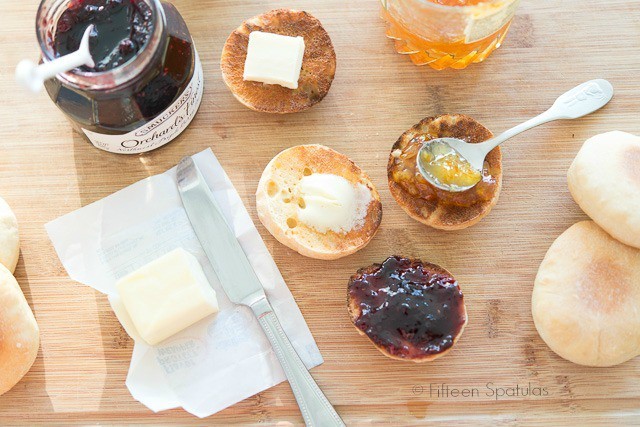
When melted butter pools inside the nooks and crannies of a crunchy, toasted homemade English muffin…oh…that’s heaven to me.
English muffins have always been “a thing” for my family. If you walked into the pantry of my childhood home at any time of night or day, you would find them in a variety of flavors: sourdough, whole wheat, cinnamon raisin, rosemary…always ready to be toasted for breakfast!
If you’ve never made English muffins at home before, they are one of the easiest and BEST bread recipes to make yourself.
This homemade English muffin recipe only requires one rise, and the dough is really simple. It’s made with all-purpose flour you probably already have in your pantry, and not bread flour.
Plus, they don’t have the preservatives that many store-bought versions have.
Tips for Best Results
Don’t rush the rise – You will need about an hour for the dough to double in size, but if your kitchen is cool and it seems to need longer, allow a little more time to get the full rise. This is the time the yeast needs to put the gas bubbles in the dough, which helps the end result be lighter rather than denser.
Push the cutter straight down – Just as when you make Scones, Biscuits, or anything else where you’re using a cutter, make sure you push the cutter straight down and don’t twist it at all on the way down. This will ensure the English muffins rise to their full potential.
Toast again before enjoying – The English muffins will be fully cooked at the end of the recipe, but just like with the ones you buy at the store, you’ll want to split and toast them again before serving for the classic experience.
Step by Step Overview:
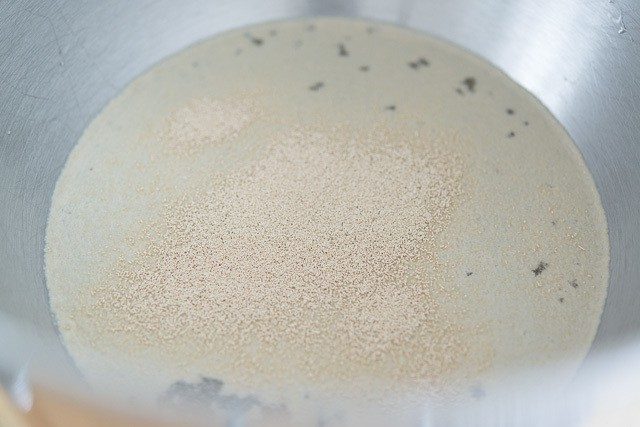
In the bowl of a stand mixer, start by proofing active dry yeast (instant yeast is okay too) in warm water mixed with a little bit of sugar:
Tip: I use water here in order to keep the English muffins dairy-free. However, you may use whole milk instead for a richer and better flavor, if you consume dairy. Make sure to use 110F warm milk, just like the water.
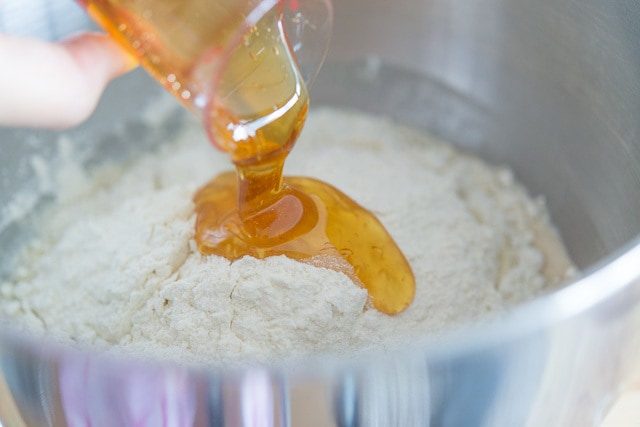
Add all purpose flour, an egg, salt, and honey to the yeast mixture:
Mix the ingredients with a spatula to roughly combine into a sticky dough:

Then transfer the bowl to a stand mixer fitted with the dough hook attachment, and knead until smooth:
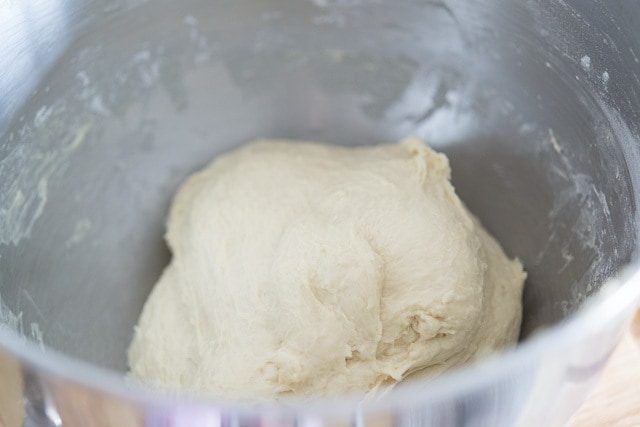
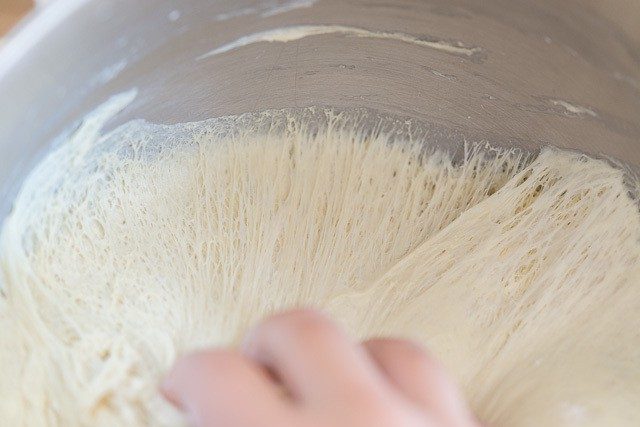
Let the soft dough rise for about an hour in a warm place, the bowl covered tightly with plastic wrap, until doubled in size.
It will look stretchy and web-like on the sides, like this, when you pull the dough from the sides of the bowl:
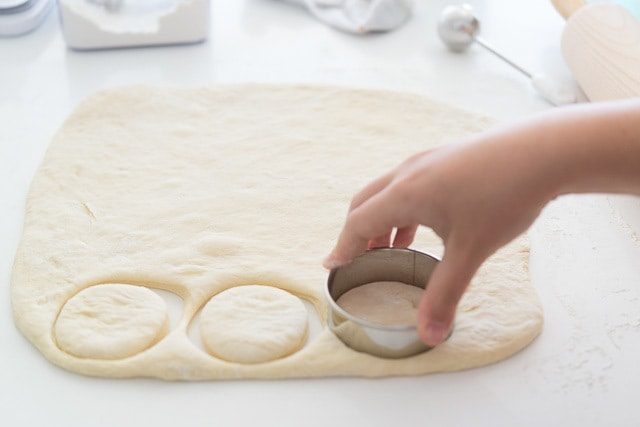
Gently punch down the dough to deflate some of the gas bubbles (otherwise the English muffins will rise too much during baking), then roll it out about 1/2 inch thick on a lightly floured surface.
Use a cutter to cut circles from the dough, making sure to push the cutter straight down instead of twisting it:
Place the 12 equal pieces of dough onto each sheet pan (you’ll have two trays total). I like lining them with silicone mats or parchment paper.
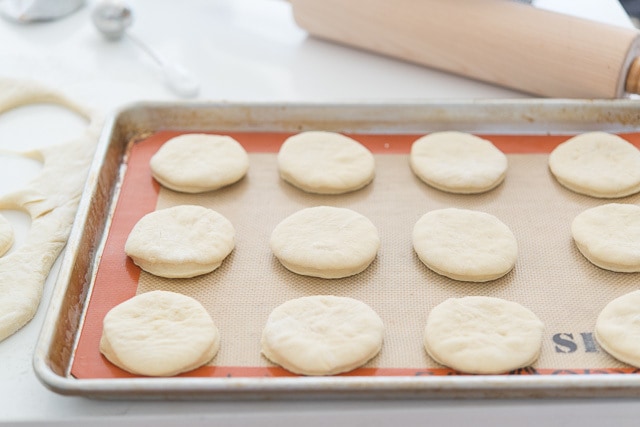
Then bake on the prepared baking sheet for 7 minutes on each side, until lightly golden brown on the bottom.
Cool your homemade bread completely on a wire rack before enjoying.
Griddle Option
English muffins can also be made on the griddle, however I prefer the oven because it’s easier, quicker, and cooks more evenly because the hot air circulates all around instead of the heat just coming from the bottom. Because the griddle is usually limited in size, it also often requires multiple batches.
If using an electric griddle, it can take anywhere from 7 to 14 minutes on each side, depending on thickness and temperature. They are done when the interior measures 200F with a thermometer. You can also try cooking batches in a cast-iron skillet.
Enjoy, and maybe even make some Red Neck Eggs Benedict!
How to Serve
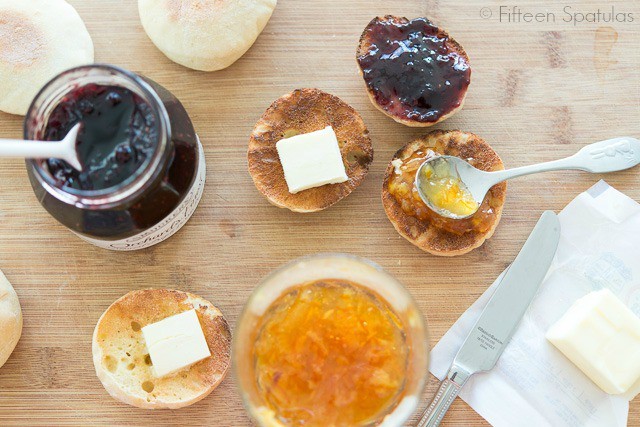
The English muffins will be fully cooked after their time in the oven, but just as with the storebought version, I recommend fork-splitting or slicing in half and toasting before serving. This gives you both that chewy texture and crisp edge.
If you ask me, the best English muffins are simply spread with good quality salted butter. But they can also be spread with Orange Honey Butter, Pumpkin Butter, Strawberry Jam, White Chocolate Peanut Butter, or whatever spread you’d like.
Serve promptly and eat within 15 minutes of toasting, otherwise the bread tends to get stale.
Banana Bread, English Scones, and Cinnamon Raisin Bread are some of my other favorite homemade breads to bake in the kitchen. Enjoy!
Recipe Tips and FAQ
Because there are no preservatives, the English muffins will keep at room temperature for 2 days. For a longer shelf life, keep in an airtight container or bag in the fridge for up to 10 days, or in the freezer for up to 3 months.
Place in an airtight container or freezer bag and store for up to 3 months. To thaw, leave on the counter for 1 hour.
The toaster is best, however if you want to reheat large amounts at one time, you can also reheat them in the oven. Fork split or cut each one in half, then heat in a 400F oven for about 5 minutes, until crisp.
Certainly, it will just require a bit of arm work. The dough is not overly sticky, so it should be relatively easy to work with.
I have not tested this with other types of flour, like semolina flour or whole wheat flour. If you want to try whole wheat flour, do not attempt to substitute more than half of the flour, and expect a denser end result.
Did you enjoy the recipe? Please leave a 5-star rating in the recipe card below and/or a review in the comments section further down the page. Or, follow me on Facebook, Instagram or Pinterest!

Homemade English Muffins
Ingredients
- 1.5 cups 110°F water
- 1/4 ounce packet active dry yeast* (2.25 tsp)
- 1 tsp granulated sugar
- 22.5 oz all-purpose flour, by weight (4.5 cups, if measuring)
- 1 large egg
- 1/4 cup honey
- 3/4 tsp salt
Instructions
- In the bowl of a stand mixer, combine the water, yeast, and sugar. Stir and let sit for 10 minutes until foamy (this means the yeast is active and alive).
- Add the flour, egg, honey and salt, and use a spatula to roughly combine the dough. Fit the bowl to the stand mixer and knead the dough for about 10 minutes on medium low speed using the dough hook.
- Cover the bowl with plastic wrap or a plate and let it double in size, which should take about an hour.
- Preheat the oven to 400° F, and line two sheet pans with parchment paper or silicone mats.
- Gently punch down the dough to deflate some of the gas bubbles (otherwise the English muffins will rise too much during baking). Lightly flour the countertop. Roll the dough to a half inch thickness. Use a 3″ cutter to cut circles from the dough, pushing straight and directly down to the counter to cut, then twisting to release (do not twist on the way down).
- Re-roll the dough and cut the scraps, and you should have about 24 English muffin circles. Place the dough circles on the prepared sheet pans, with 12 per pan.
- Bake each tray for 7 minutes, then flip the English muffins over and bake for another 7 minutes. If you have a thermometer, you can check that they are done by measuring a 200°F internal temperature.
- Cool completely on wire racks, then they are ready to be cut in half, toasted, and spread with your favorite butter or jam.
Notes
Nutrition
Nutrition is estimated using a food database and is only intended to be used as a guideline for informational purposes.
[Updated from the archives with new photos, writing, and tweaked recipe. Originally posted November 2010]
46 Comments on “Homemade English Muffins”
Great recipe, however I do not understand how you get 24 1/2″ English muffins to bake. I have made this four times and each time my yield is 13? I griddle them and they turn out amazing, plenty of nooks and crannies for butter and jam. I am just curious how you get 24. Thanks Sean
Hi Sean, hm…is your cutter 3″? Maybe I will check this again soon.
Yes it is, thanks for the response. Sean
These are great. Followed the recipe as is and they turned out perfect. made them twice so far. great for making sliders with. Thank you.
Hello there, I made these for brunch today and it went down well with everyone. I just followed the recipe religiously and thankfully it was perfect. Tq for sharing this is easy peasy recipe. Definitely a keeper.
I bake homemade montreal-style bagels and I also make French baguettes and am very comfortable with making bread products. These were horrible and too much flour. There were no nooks and crannies and they were more like heavy slider buns. It’s not a great recipe actually and I don’t think griddle cooking would have made a difference. Was a waste of ingredients
I completely agree with you. I was very hopeful these would turn out great, but unfortunately these are NOT english muffins. Tasted good, but not the english muffins I was envisioning!
Can I use my food processor instead of a stand mixer?
I wouldn’t suggest it; it mixed up nicely in the mixer.
do i really need to add honey? i do not think thomas’ English muffins have honey in them
at all. can i just leave the honey out? please let me know by emailing me at midnight0675@suddenlink.net
Yes you can leave it out.
Can dough be kneaded by hand if no mixer?
Yes it will just take some time and muscle 🙂
Can I make this without sugar?
From what I can tell the sugar is added as something for the yeast to eat. I didn’t create the recipe, but I think you could omit the sugar.
Why didn’t my dough roll out thin enough? It wouldn’t stay where I rolled it. It kept shrinking back as soon as I rolled it to a 1/2″ thickness. Did I beat it with the dough hook too long? I did 10 mins. like the recipe called for. They were too tall so I flattened them a little when I turned them. They were good but I would have liked the nooks and crannies from not flattening them. Tasted amazing!!
Whenever any sort of dough shrinks back, that means the gluten needs a chance to rest. Try leaving it (covered) for 10-15 minutes and trying again, and it should roll out more easily.